Due to the arrival of the Covid-19, many of our international orders were not able to be installed/trained on-site, so today’s content is about how we install and commission our equipment for our customers to read and refer to.
1.Installation sequence:
a. Unpacking: We unpack all the equipment first and then sort out the space where the equipment needs to be placed
b. Machines’ Pre-install: (according to the layout) first determine the location of the main extruder, in accordance with the location of the main extruder to determine the capstan, water trough, take up; can also be based on the location of the main power line to determine the location of the main electrical control cabinet and then determine the location of the Main extruder, and then roughly determine the location of the capstan, water trough, take up in turn.

c.The splicing of the accumulator: (tips: first find each accumulator part according to the mark and place it on the ground first in order (from the release of the pay off-take up, the order of the wire storage frame is from 0-1,1-2,2-3), use a forklift to empty the accumulator and then merge several sections to fix all the rails (the middle section of the rails need to be careful during the merger of the accumulator to prevent the top from breaking; it is best to use a forklift to move it.

FInd the correct order of guide rail


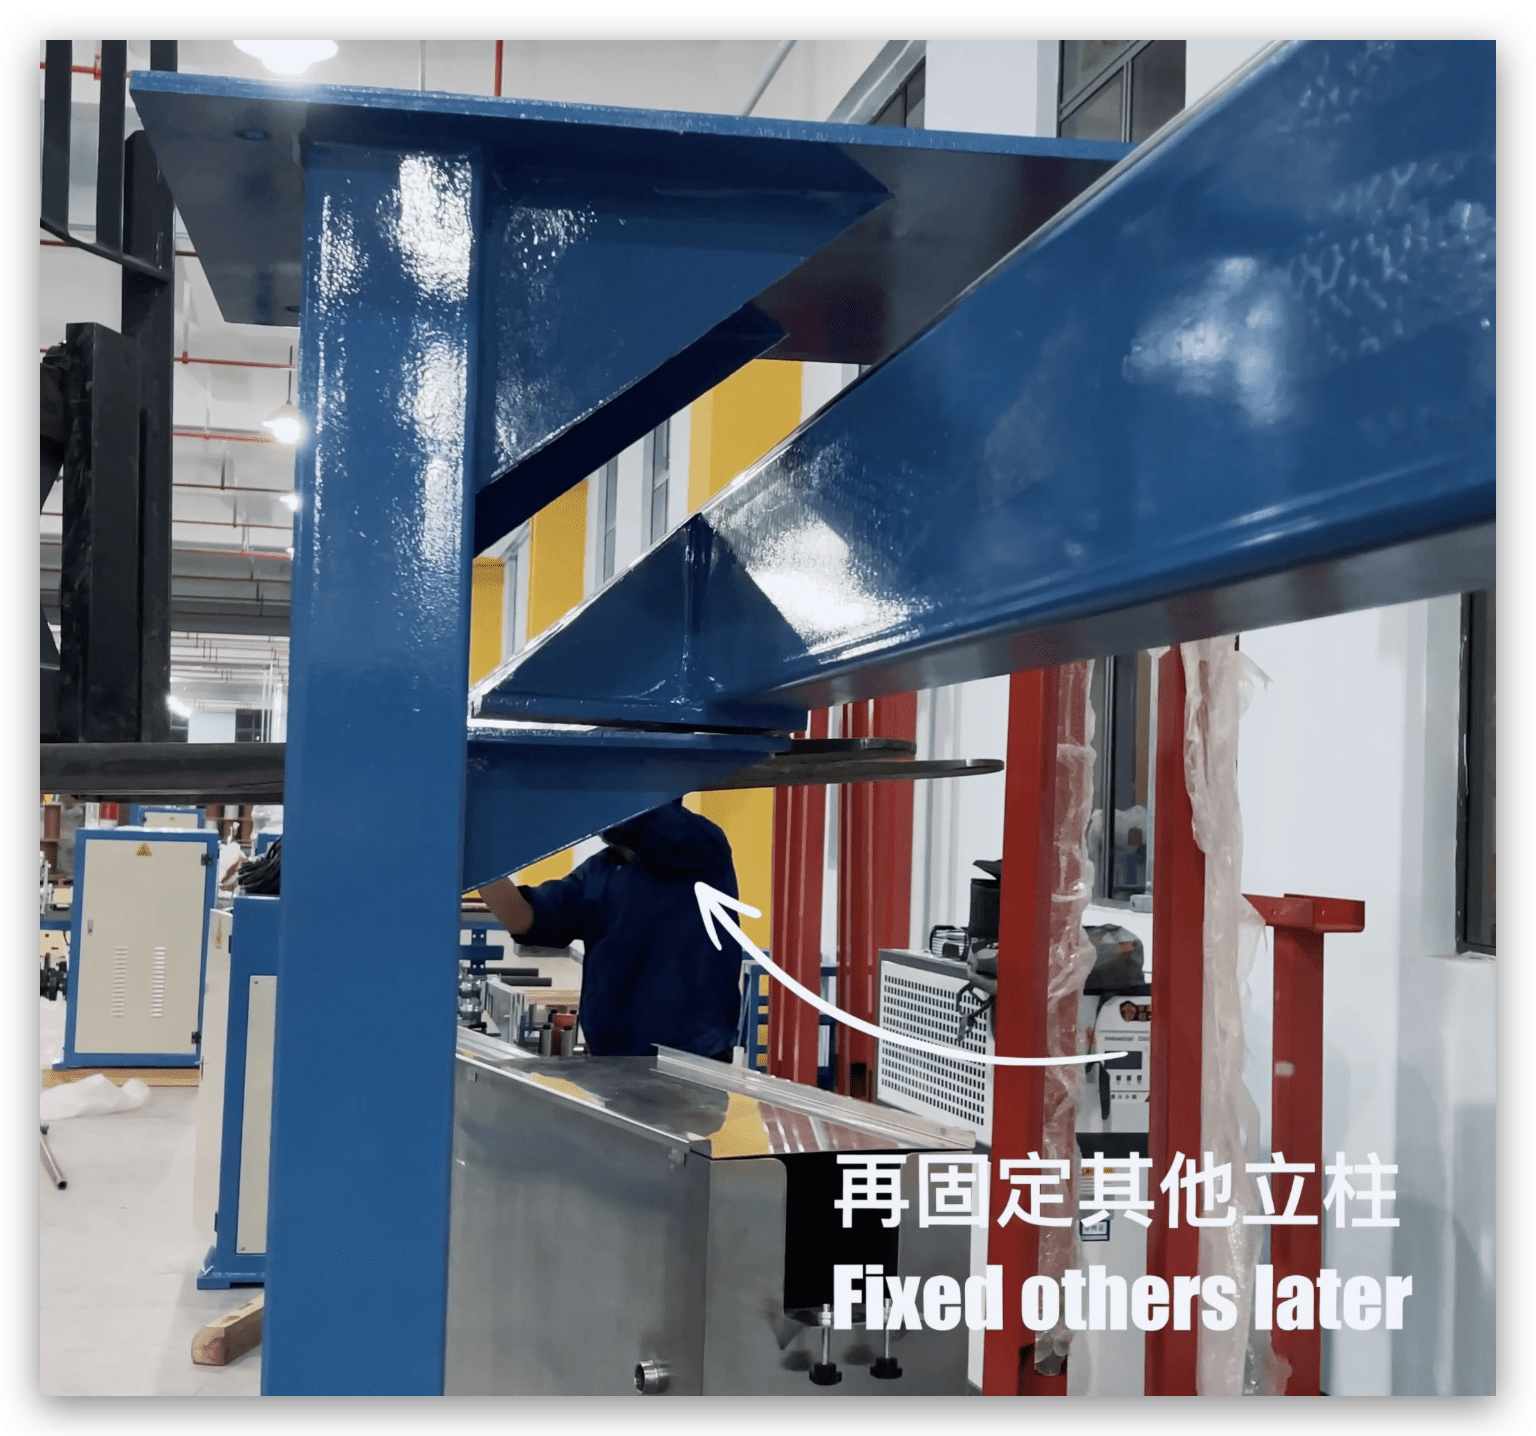
d. Accumulator installation: Firstly, the column will be arranged in a good position first, then use an electric forklift or high forklift to move the storage frame up and down (for safety reasons), first fix a section of the column, then fix the other end in turn.


e. Winch installation: installation direction: motor hinge in the back facing the direction of the production line; first of all, the steel strand rope in accordance with clockwise first around the guide wheel at the first and last ends of the storage frame, and then the ends of the wire rope connected to the sports car (note: first the hook is fixed in the sports car first, and then it will be connected), and finally the wire rope frame to the guide rail, check whether the wire rope is tight.


f.Trunkings Installation: the distance from the sink column to the sink is: 60 cm, the distance between each column is: 340 cm, can increase the column depending on the situation; first on the ground to put together each section of the sink, and then moved to the column; next, you need to connect each section of the sink to the column with screws to prevent running, but also to fix all the columns on the ground in order to pull the line when the stability.


g. Waterway installation: according to the water line diagram we provide to install, the logic here is:


h. Wire installation: first of all, the total wires of all the equipment are summarized in the main electrical cabinet, and then connected one by one according to the identification on the number pipe (also according to the circuit diagram to determine whether there are errors), we will also provide the circuit diagram

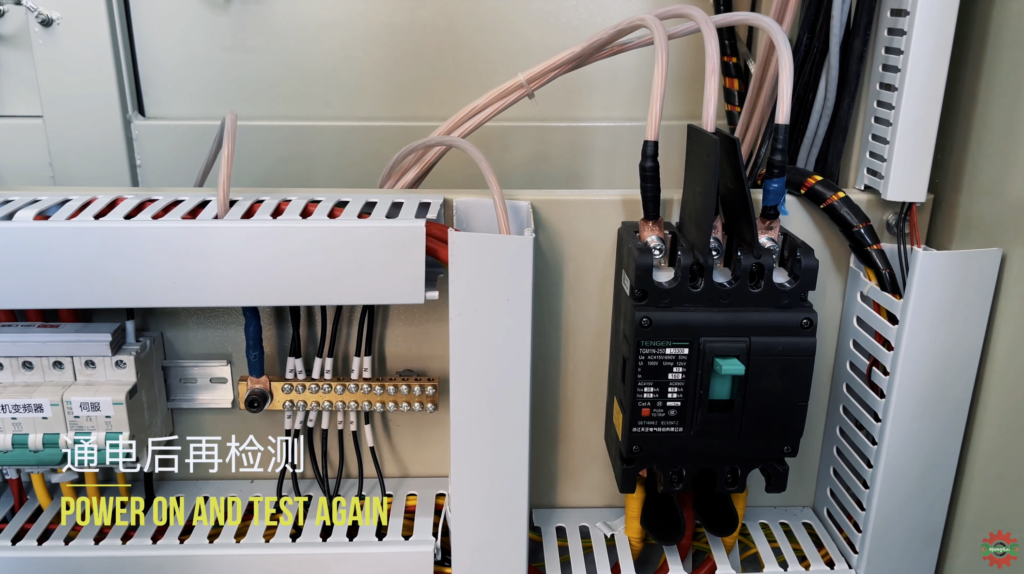
2. First pre-power-up test:
Use a voltmeter to test if there is voltage to the main electrical cabinet


Then test the incoming voltage of each device

3. Notes before first start-up (line test):
a. Whether the inlet and outlet water is normal, whether there is a leak, whether the water level is stable, not overflowing water.

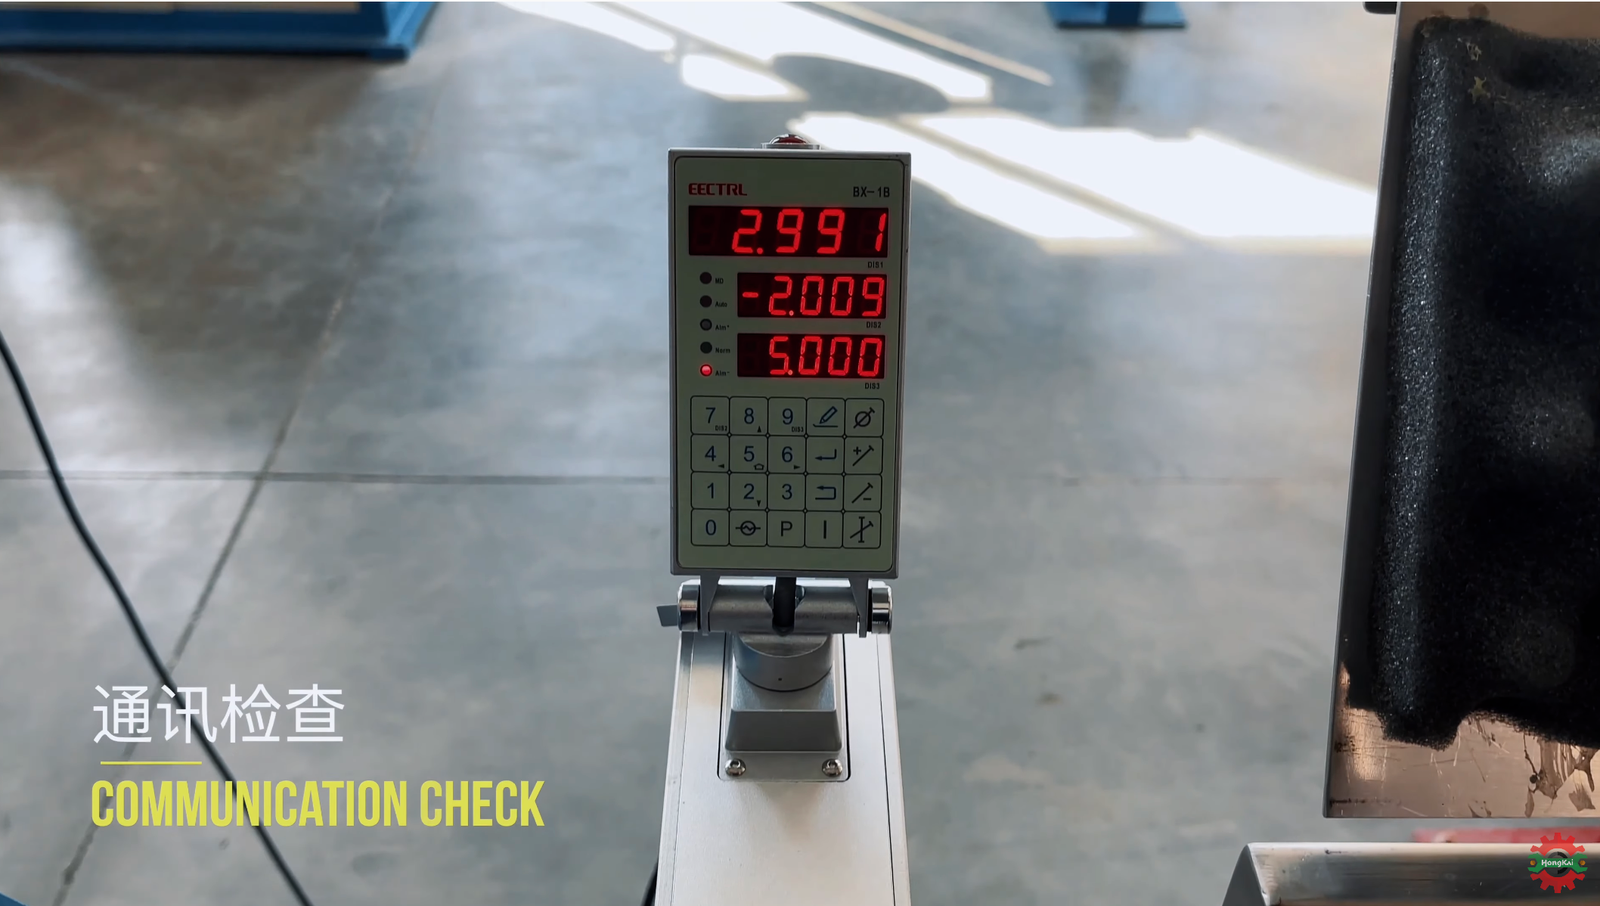
b. Whether all the equipment communication on, closing line, diameter meter and the main electric control cabinet PLC communication, can be viewed on the main screen


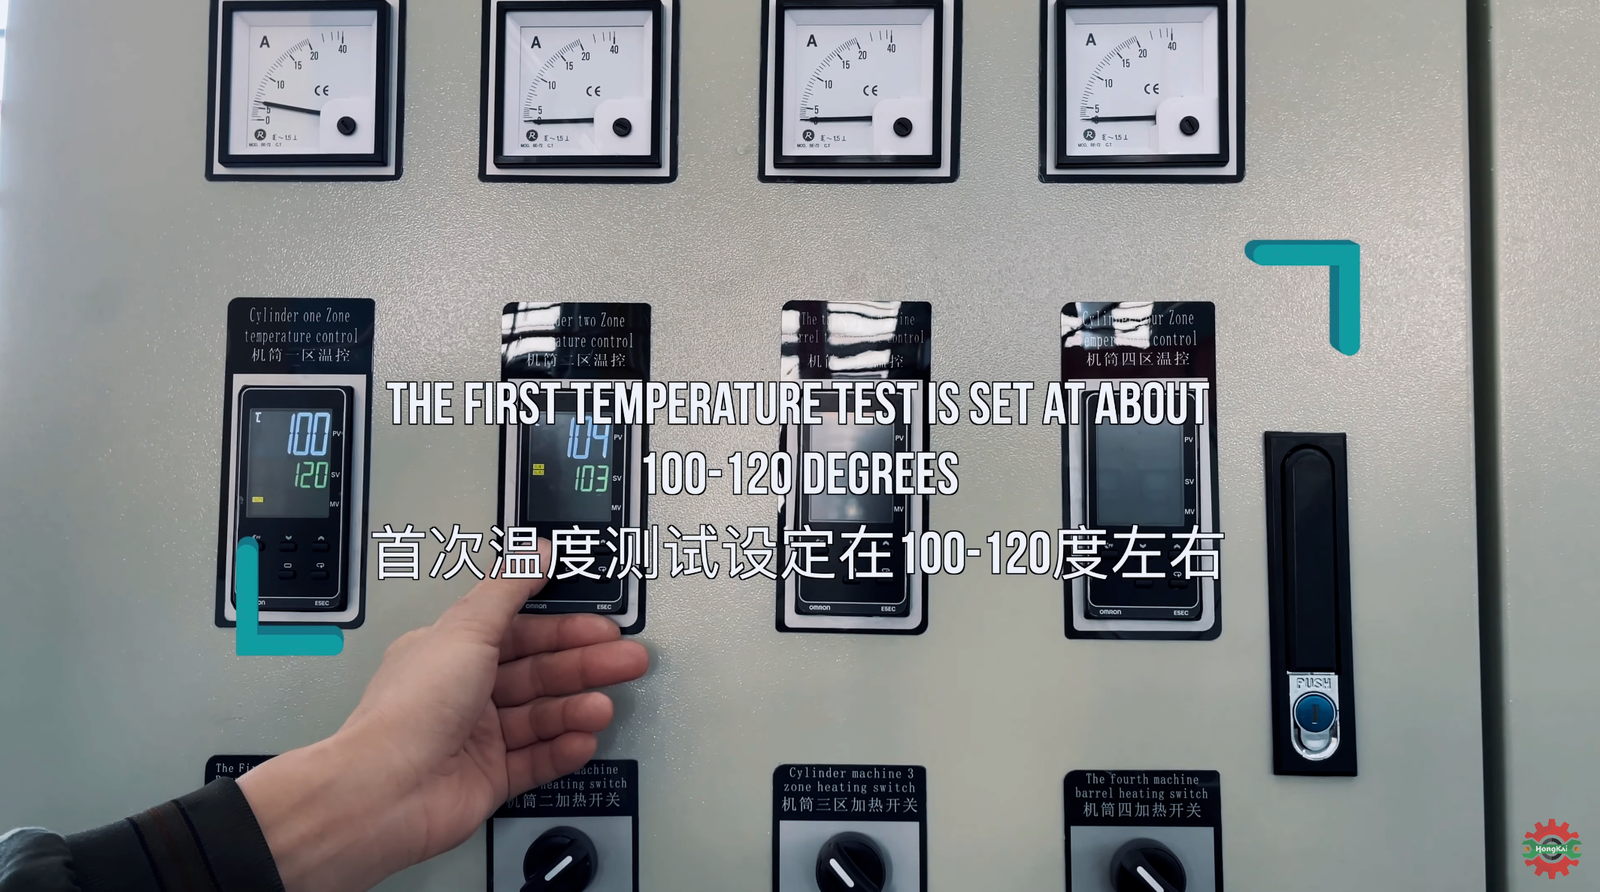
c. Temperature control table temperature (the first time the temperature can be set at about 100 degrees, wait about 30 seconds to see if there is a change in the ammeter, 10 minutes later to check whether the temperature is consistent with the setting, the temperature difference of a few degrees is normal, if the actual temperature is too high than the set temperature, you need to check whether the host fan work)


d. All motor sequences are clockwise (facing the line)

e. The take-up machine is linked with the sports car, when the sports car is close to the position of the limit switch, the take-up machine is kept still, and when the sports car runs in the direction of the host, the take-up machine should accelerate the operation
The direction of movement of the wire storage frame sports car: after starting is to the direction of the host, back is to the direction of the receipt; you can also check whether the limit switch is working properly

f. The direction of movement of the discharge motor (all dancers are checked in the same way)
g. After the power is turned on, the three or two electrical conditions of each equipment and the condition of the inverter/servo are normal.
4. Line start sequence:
You can only squeeze the material, first turn on the single-action mode in the low-speed mode, the cable up to the traction, check and adjust the eccentricity and then link with the take-up line
Adjust to linkage mode and accelerate, you can 50 the number slowly add to the fastest production speed, the process to view the change in the outer diameter
Different devices can be tested afterwards for different functions, e.g., automatic plate change switching

5.Line fixing:
After all of the above steps are completed, all of the equipment is secured (with ground blast screws) by using the cable to determine if all of the equipment is located and if the wire storage racks are on the same level.
6. Conclusion paragraph:
If you need help installing your new optical cable production line, or have any questions about the process, please don’t hesitate to contact us. Our team of experts would be more than happy to assist you and answer any questions you may have. Thanks for reading, and we hope this blog post has been helpful!


