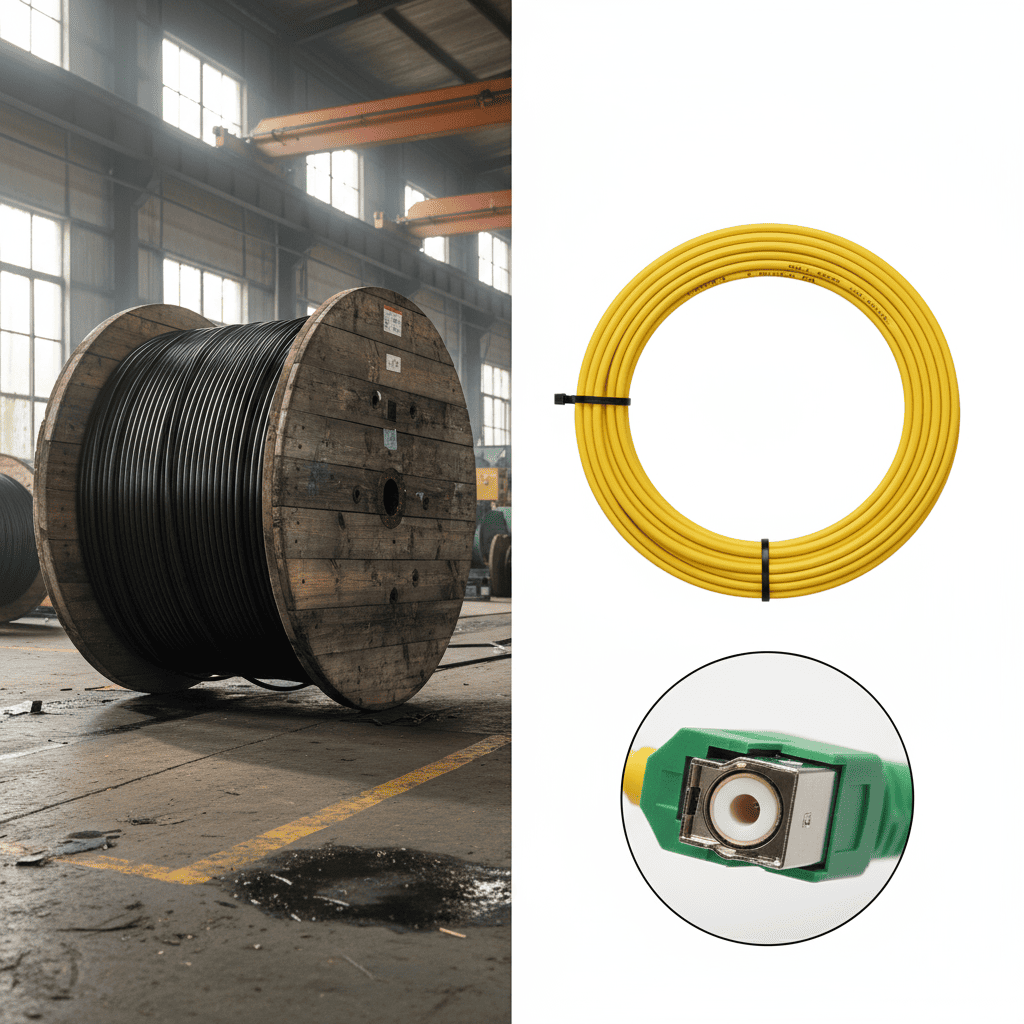
Thinking about FTTH cables can be misleading. Most people only see the final part—attaching a connector. This creates a blind spot, causing many to overlook the complex industrial process where the cable itself is born, which is where true quality and reliability are forged.
The complete creation of a ready-to-use FTTH ড্রপ ক্যাবল1 happens in two distinct phases. First, the bulk cable is manufactured on a specialized production line. Second, in an assembly workshop, the bulk cable is cut, stripped, fitted with connectors, polished, and tested to become a finished patch cord or pigtail.

Understanding both phases is crucial for anyone serious about fiber optics. It connects the dots between industrial manufacturing and high-precision assembly2. Let’s walk through the entire journey, starting on the factory floor where the cable is made, and finishing in the clean workshop3 where it becomes a usable product.
How Are Raw Materials Combined Into a Cable in One Pass?
You need the cable itself before you can have a finished patch cord. You have delicate fiber, strong reinforcement wires, and plastic pellets. How do you combine these into a durable cable without a complex, multi-step process?
This is accomplished on a modern FTTH ড্রপ ক্যাবল1 production line. In a single, continuous pass, the optical fiber and two strength members (steel wire or FRP) are precisely aligned and fed through an extruder, where a molten plastic jacket is formed around them, creating the final cable structure.
This integrated method is the heart of efficient manufacturing. It starts with the pay-off stands, where spools of optical fiber4 এবং strength members5 are unspooled with perfect tension. The strength members5, often steel wires, pass through a straightening unit to ensure they are perfectly straight. Then, all components are guided into a positioning mold that locks them into the classic flat butterfly geometry—fiber in the center, strength members5 on the wings. This entire assembly is then pulled into the এক্সট্রুডার6‘s crosshead. Molten plastic (like LSZH or PE) is forced around the components, forming the protective outer jacket. The newly formed cable is immediately pulled through a long water trough to cool and solidify its shape, its dimensions checked by a laser scanner, and its surface printed with identifying marks before being wound onto a large drum. This continuous process is the foundation of quality, from raw materials to a multi-kilometer spool7 of perfect cable. I’ve seen firsthand how this efficiency, a cornerstone of HONGKAI’s machine design, empowers our clients to produce high-quality cable at scale.
How Does a Bulk Cable Begin Its Transformation?
Now we have a large drum holding thousands of meters of perfect FTTH cable. It’s useless in this form. The first step in the "backend process" is preparing it to become an individual patch cord. But stripping a tough cable to get to the hair-thin fiber inside is a recipe for disaster if not done right.
The process begins with precise cutting and stripping. The bulk cable is cut to the desired length (e.g., 3 meters). Then, using a series of specialized tools, each layer—the outer jacket, the strength members, and the plastic buffer—is carefully removed to expose a clean, undamaged length of bare optical fiber.
This is where craftsmanship meets precision engineering. An operator first uses an automated cutter or a manual tool to cut the cable to a specific length. Then, the stripping begins. A jacket stripper scores and removes a section of the tough outer sheath. This exposes the two strength members5, which are then snipped off with special high-strength scissors. Now, the centrally located buffered fiber is visible. Using a different precision stripper with a pre-set notch, the 900-micron tight buffer is removed. Finally, the most delicate tool removes the final 250-micron colored coating, revealing the pristine, 125-micron bare glass fiber. Throughout this process, the goal is not to put any stress, scratches, or nicks on the glass. A single microscopic flaw will cause the fiber to snap later. After stripping, the bare fiber is wiped with a lint-free cloth and isopropyl alcohol. I tell new assembly teams: "A perfect connection starts with a perfect strip." All the polishing and testing in the world can’t fix a damaged fiber at this first, crucial step.
How Is the Connector Permanently Attached to the Cable?
You have a perfectly prepared fiber end. Now you must attach the connector housing and secure that fragile fiber. How do you create a mechanically strong bond to resist pulling and be optically stable for a perfect light path?
This is achieved through the factory-standard "epoxy and crimp" method. A tiny amount of optical-grade epoxy is injected into the connector’s ferrule, the fiber is inserted, and the epoxy is heat-cured. Then, the connector body is mechanically crimped onto the cable’s strength members5 and jacket for pull-proof strength.
%A technician injecting epoxy into a fiber optic connector before inserting the fiber 4 4
This is a robust two-part bonding system—first, the chemical bond. Using a syringe, a small, bubble-free amount of two-part epoxy is injected into the long, thin hole of the connector’s ceramic ferrule8. The prepared fiber is then carefully threaded until its tip protrudes from the ferrule’s end. The assembly is then placed into a specialized curing oven for 5-10 minutes. This hardens the epoxy, creating a solid, unshakable bond between the glass fiber and the ceramic ferrule8. While that secures the delicate fiber, it does nothing for pull strength. That’s the job of the mechanical bond. After curing, a crimping tool squeezes a metal ring at the back of the connector. This crimp firmly grips the cable’s outer jacket and, most importantly, the tough strength members5 we left earlier. If someone pulls on the cable, the force is transferred to the rugged connector body, not the fragile fiber epoxied inside. This dual-method approach is why factory-made patch cords are much more reliable than fast field-installable connectors.
Why Is Polishing the Most Critical Finishing Step?
The fiber is now securely locked in the connector, but is optically useless. The tip is rough, covered in epoxy residue, and sticks out from the ferrule. If you tried to connect this, the light would scatter everywhere, resulting in massive signal loss. How do you create a perfect optical surface?
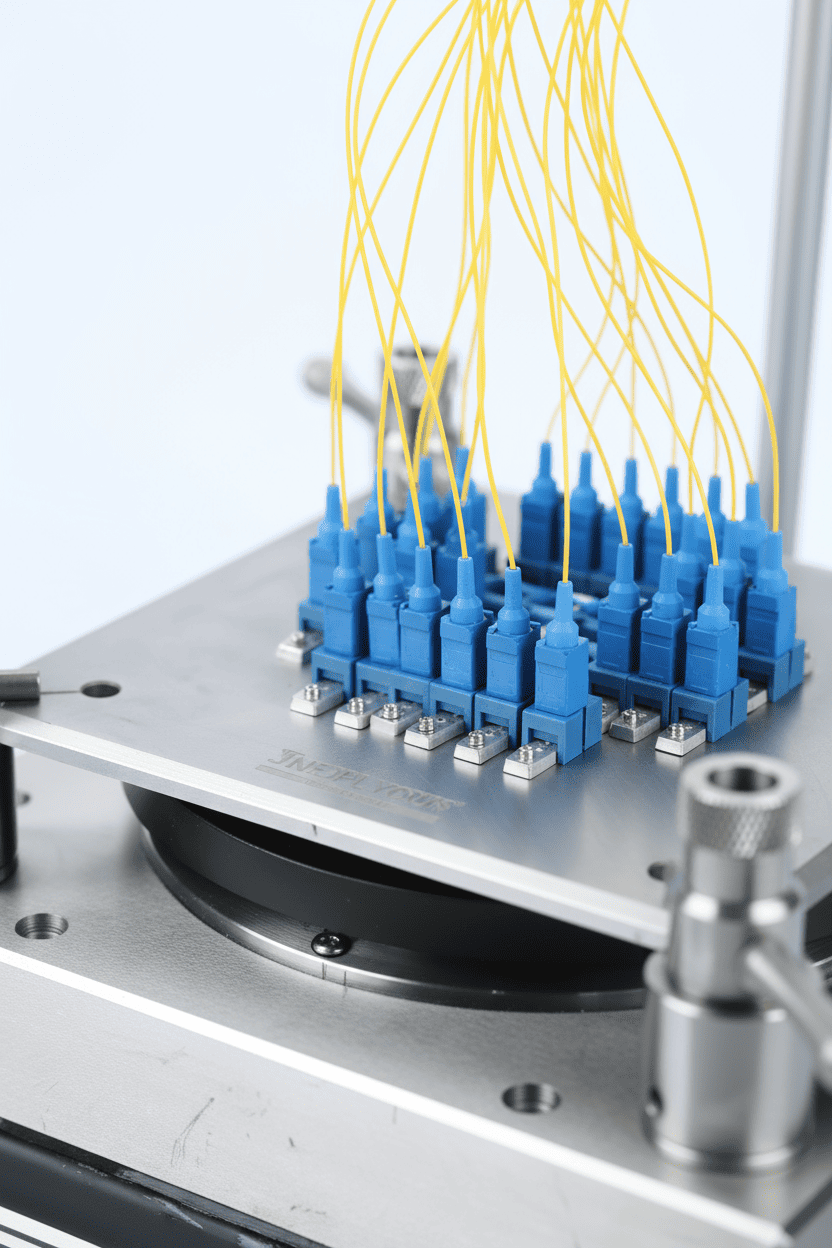
The final, and most artful, step is polishing. Using a high-precision polishing machine, the connector tip is ground and polished against progressively finer lapping films. This process creates a flawless, mirror-smooth, perfectly-shaped surface that allows light to pass with near-zero loss or reflection.

This is where microscopic precision defines the connector’s performance. The connectors are mounted into a fixture (a jig), which is then placed on the polishing machine9. The machine moves the jig in a figure-8 pattern across the polishing films. The process starts with a coarse, diamond-grit film to grind down the protruding fiber and epoxy until the surface is flat. Next, one or two intermediate films remove the scratches from the first step and shape the fiber end-face into a precise, slightly domed geometry (a UPC, or Ultra Physical Contact, polish). The final step uses a non-abrasive, silica-based film that gives the end-face its final, mirror-like finish. After each step, the connectors must be meticulously cleaned. The result is a smooth surface with virtually no air gap between the glass cores when two connectors touch. The quality is then verified under a 400x microscope. Any lingering scratches, pits, or dirt will compromise the connection. This polishing stage single-handedly determines the two most important performance metrics: Insertion Loss and Return Loss10. It’s the true mark of a high-quality termination.
উপসংহার
Creating a ready-to-use FTTH cable is a two-act play: the industrial manufacturing of the bulk cable11, followed by the meticulous assembly and polishing of the connector. Both are essential for a reliable, high-performance final product.
-
Explore this link to understand the significance and applications of FTTH drop cables in modern telecommunications. ↩ ↩
-
Discover the importance of high-precision assembly in ensuring the performance of fiber optic cables. ↩
-
Learn why a clean workshop is essential for maintaining the quality of fiber optic cable assembly. ↩
-
Gain insights into the technology behind optical fibers, the backbone of modern communication systems. ↩
-
Understand the role of strength members in enhancing the durability and performance of fiber optic cables. ↩ ↩ ↩ ↩ ↩ ↩
-
Explore the function of extruders in the production of fiber optic cables and their importance in manufacturing. ↩
-
Learn about the production process of long spools of fiber optic cable and their applications. ↩
-
Understand the role of ceramic ferrules in ensuring stable and reliable fiber optic connections. ↩ ↩
-
Discover the technology behind polishing machines that create high-performance fiber optic connectors. ↩
-
Explore the significance of Return Loss in ensuring effective fiber optic connections. ↩
-
Learn about the manufacturing process of bulk cables, which is crucial for understanding fiber optic technology. ↩


